Network service
Install Oracle 10.2.0.4 using vmware image
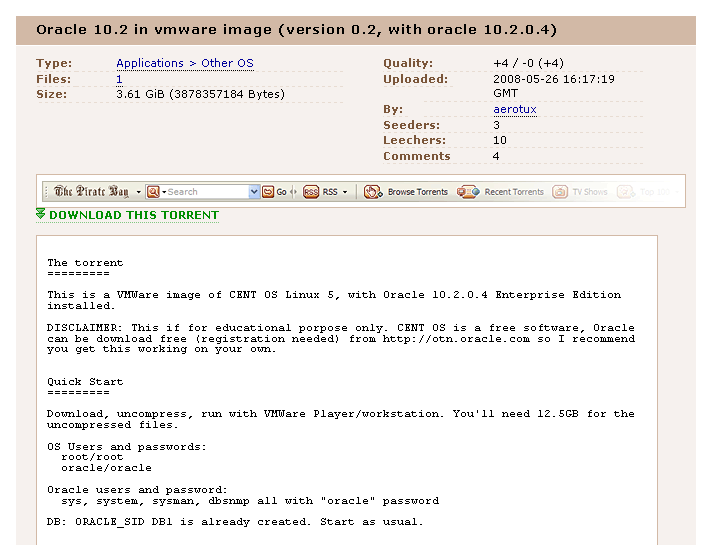
image 從這邊抓的
http://thepiratebay.org/torrent/4206241/
裝好後的啟動 command:
Listener:
 $ lsnrctl start

Database:
 $ sqlplus /nolog
 SQL> conn / as sysdba
 SQL> startup;

DB Console:
 $ emctl start dbconsole
 then open browser and go to https://localhost:5500/em
 You can login as sys/oracle using the SYSDBA role.

sqlplus /nolog

SQL*Plus: Release 10.2.0.3.0 - Production on Wed Oct 1 18:50:04 2008

Copyright (c) 1982, 2006, Oracle.  All Rights Reserved.

SQL> conn scott/password@db1
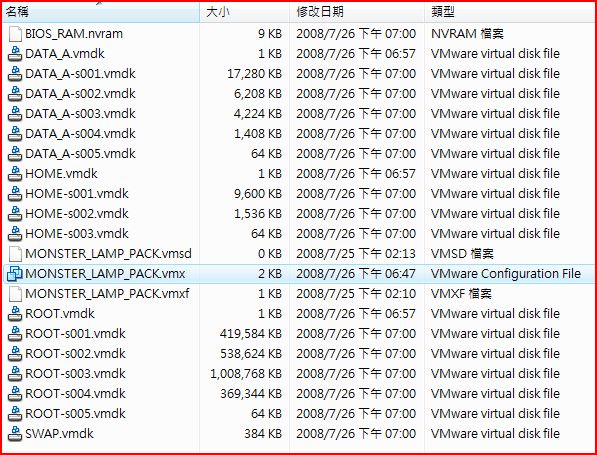
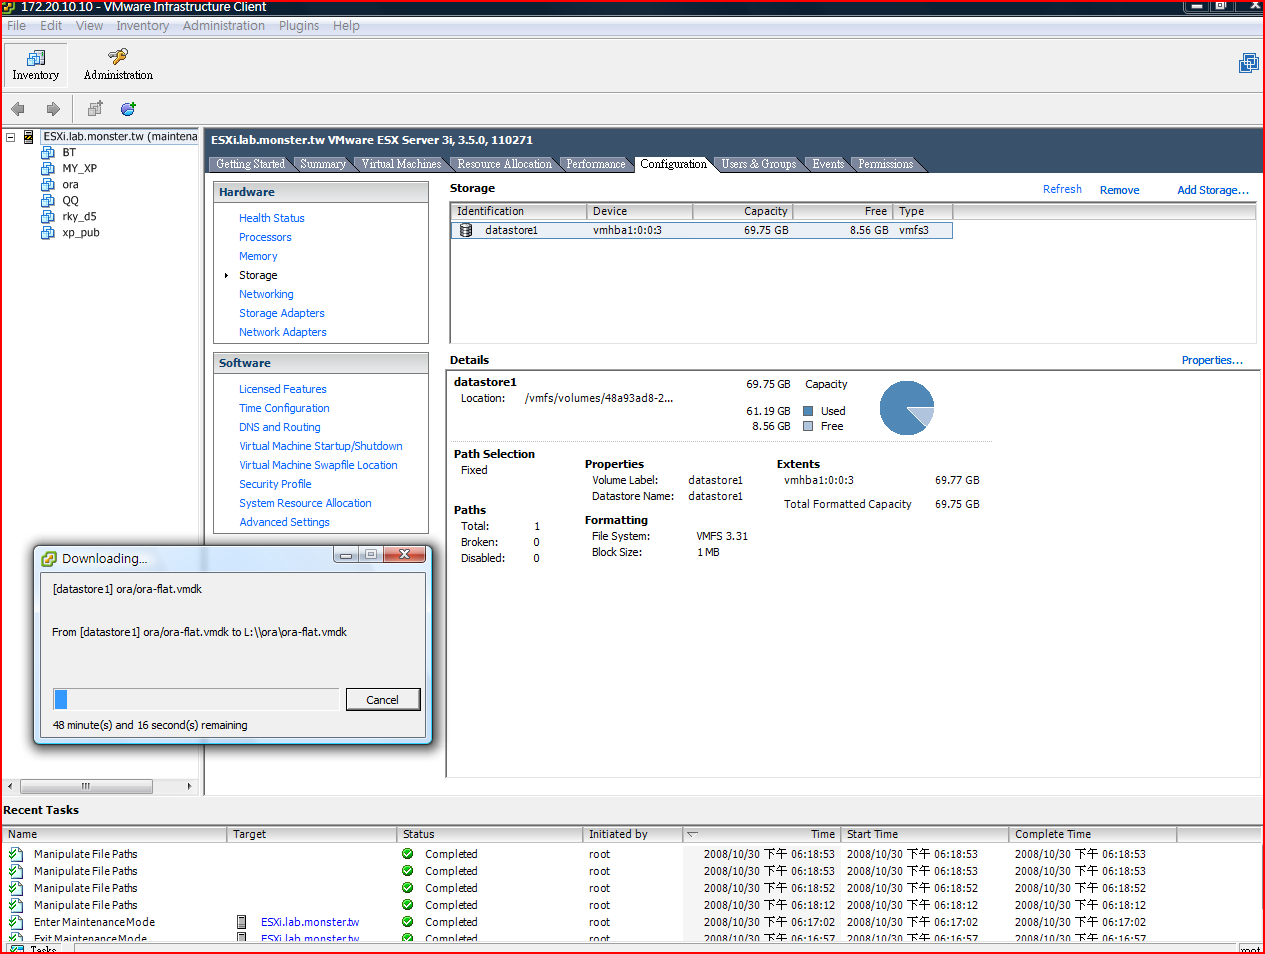
3.2 G , 解開後, 好像有個目錄是給 Mac OS 用的 vmware image , monster 用那個看起來比較正常的 , 馬上用 vmware converter 把它轉到 Vmware ESXi server 去 , 作者建議memory不要低於 768MB , 轉好後就啟動啦.
照它的說明把 Oracle startup 很順利….. 馬上就有一個 oracle 可以用.
把那個 OS 啟動後, 依照我的環境我還改了 : keyboard , network ip address setting : 參考: /archives/1063
The torrent
=========

This is a VMWare image of CENT OS Linux 5, with Oracle 10.2.0.4 Enterprise Edition installed.

DISCLAIMER: This if for educational porpose only. CENT OS is a free software, Oracle can be download free (registration needed) from http://otn.oracle.com so I recommend you get this working on your own.

Quick Start
=========

Download, uncompress, run with VMWare Player/workstation. You'll need 12.5GB for the uncompressed files.

OS Users and passwords:
  root/root
  oracle/oracle

Oracle users and password:
  sys, system, sysman, dbsnmp all with "oracle" password

DB: ORACLE_SID DB1 is already created. Start as usual.

Read ahead for detailed instructions.

HOW TO
=======

Start the virtual machine. You can use VMWare player which is a free download. Double click on sles.vmx (don't be distracted by the name, this is not a suse linux, it's a Cent OS, but I base the configuration on a suse vm).

NOTE: Virtual machine is setup to use 768Mb of memory. I don't recommend downsizing this value, specially if using the DBConsole. Database uses less than that, so you can change it safetly to 512Mb, but the DBConsole won't probably start.

After starting the VM you should get to a graphical login.

Login as oracle and open a console. You have two ORACLE_HOMEs installed (run .bash_profile to choose one of them at any time from the oracle shell).

First home (server on /u01/app/oracle/product/10.2/db_1) is where the database is software is installed and DB1 instance was created. All oracle users (sys, system, sysman, dbsnmp) were created with the "oracle" password.

Start all with:

Listener:
 $ lsnrctl start

Database:
 $ sqlplus /nolog
 SQL> conn / as sysdba
 SQL> startup;

DB Console:
 $ emctl start dbconsole
 then open browser and go to https://localhost:5500/em
 You can login as sys/oracle using the SYSDBA role.

Second home (client on /u01/app/oracle/product/10.2/client) has the Java Enterprise Manager console installed. This is a client/server tool to admin the database (works for previous releases too). From 11g this tool is no longer provided, but since it's very popular as of today, I'm installing it here. Start it with $ oemapp dbconsole (just type oemapp to see all products available).

Listener only listen on localhost (127.0.0.1). To access the database from your network you'll have to make sure that VMWare networking is working properly. By default it's configured as "Bridged networking" (see vmware docs for details) and inside you see the network card as eth0, configure with DHCP. Once you can ping the box you can modify the listener.ora file and add the new IP to listen to, and restart it. DBConsole configuration to listen on that IP can be a bit tricky (try setting the iP on the ORACLE_HOSTNAME env var and then reconfigure with emca -reconfig dbconsole db). You can also access it with SSH port fowarding if you know how to do it.

Changelog
=========

Version 0.2
  * Upgraded soft to 10.2.0.4 (db too)
  * DB Console working.
  * Linking of soft now works becouse of install of libstdc++.so.5
  * Better "documentation" with torrent.

Version 0.1

  * First release: Vmware image with CentOS 5, xfce4, and oracle 10.2.0.3 (server and client). DB1 already created.
  * Known bug: dbconsole not working properly.
  * Posted on http://thepiratebay.org/tor/4039509/Oracle_10.2_in_vmware_image

Help
====

You can post questions on the comments, althought I don't see them so often, but maybe somebody else can help you.
If you need oracle support, you can search the web for help or you can have professional support from us by an email on the comments (good prices, senior dbas).
我寫了一個小工具 kml2csv 上線測試
主要是要為了編輯我騎車時所留下的 Google Earth 路徑而寫的小程式 , 大家用看看
有問題或想法再告訴我…
https://www.monster.com.tw/kml2csv
使用流程:
Logger –> Google KML –> KML2CSV –> Edit with Excel –> ExcelToKML –> Google Earth
opensolaris / Optimized Open Source Software Stack (Cool Stack)
看到一個有用的套件
for the Sun Solaris Operating System(TM)
http://cooltools.sunsource.net/coolstack/
Cool Stack includes several packages in the SVR4 package format, so you can install just the ones you need. Some of the applications in Cool Stack already ship with Solaris, but these are either older versions and/or not built with full optimization. Further, Cool Stack has been pre-configured to have the most popular applications (Apache, PHP, MySQL) to work seamlessly out of the box.
Deploying PHP From Cool Stack in Sun Java System Web Server
Configuring Cool Stack PHP With Web Server
Next, do the following:
1. Go to the Cool Stack PHP 5 installation location. Type:
cd /opt/coolstack/php5
In that directory is a script called setup-ws7-php.sh.
2. Run setup-ws7-php.sh. Type:
./setup-ws7-php.sh
This message is displayed:
Usage:
This script will configure Coolstack PHP with Sun Java System Web Server
7. Here, you will need to provide the top level location of your Web Server
7 installation and your Web Server 7 instance_name name to which this
script should configure to run PHP scripts.
Enter your Web Server installation location(/sun/webserver7):
3. Type the full path for your Web Server installation.
The script then prompts you to type a Web Server instance name. That name is the path to a directory in your installation location—one that contains all the configuration files for running your Web site. If you are using Web Server in Sun Java Enterprise System 5, your instances are under /var/opt/SUNWwbsvr7.
For the example in this article, cite the instance https-coolstack that you created previously. To enable a different instance for PHP, type that instance name. Your instance is then ready for PHP, which you can deploy with Cool Stack 1.2 PHP on Web Server.
Finally, do the following:
1. Start Web Server. Type:
/sun/webserver7/https-coolstack/bin/startserv
2. Create sample PHP files under /sun/webserver7/https-coolstack/docs.