nginx.conf in http block
sendfile on;
client_max_body_size 10M;
php.ini
file_uploads = On
upload_max_filesize = 20M
nginx.conf in http block
sendfile on;
client_max_body_size 10M;
php.ini
file_uploads = On
upload_max_filesize = 20M
手動改 : sudo ifconfig eth0 192.168.0.1 netmask 255.255.255.0
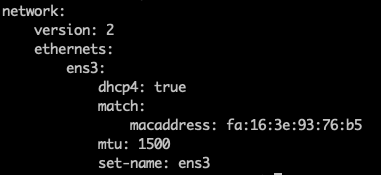
在 /etc/netplan/00-installer-config.yaml
用 DHCP 取 IP
# more 00-installer-config.yaml # This is the network config written by 'subiquity' network: ethernets: enp0s3: dhcp4: true version: 2
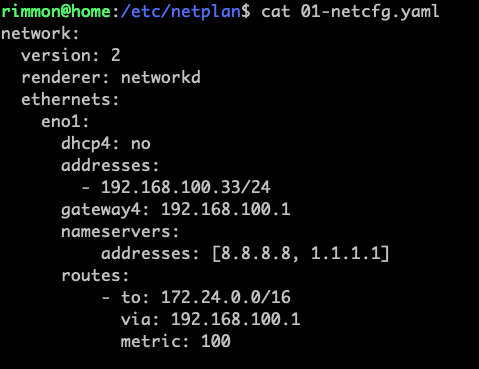
增加 /etc/netplan/01-netcfg.yaml
network: version: 2 renderer: networkd ethernets: eno1: dhcp4: no addresses: - 192.168.100.33/24 gateway4: 192.168.100.1 nameservers: addresses: [8.8.8.8, 1.1.1.1]
需 rm /etc/netplan/00-installer-config.yaml
免得跟原來的config衝突,
再執行
sudo netplan apply
OVH:
Some sample …
for office lan
network: version: 2 renderer: networkd ethernets: enp0s3: dhcp4: no addresses: - 192.168.1.11/24 gateway4: 192.168.1.1 nameservers: addresses: [8.8.8.8, 1.1.1.1]
安裝 command :
apt-get install sshfs
sshfs [user@]host:[remote_directory] mountpoint [options]
sshfs -p 2200 [email protected]:/home/rimmon DEV
fusermount -u DEV
sshfs -p 2200 -o reconnect [email protected]:/mnt/tslog_bak ~/TSLOG_BAK
fusermount -u ~/TSLOG_BAK
速度測試
sshfs -p 2200 -o reconnect [email protected]:/mnt/tslog_bak ~/TSLOG_BAK
1.1G 費時 19秒 , 約 55MB/s